DIY Running Traction

Want to stay in touch with running through the winter? Do you have early spring race goals that demand your attention? For those of us attempting winter running, there will come a time when you may need supplemental traction. You can buy studded shoes like those from Icebug, Salomon or Inov-8. But those are pricey. You can throw some nano-spikes or other traction aids on - but they can shift around, add weight to your shoes, and still cost money. What’s a thrifty runner to do?
Why not stud your own shoes?
Grab a pair of shoes, with a good sized, foamy, midsole, and ideally a rock plate. Personally, I prefer the additional traction of the trail shoe’s lugs, plus additional outsole to sink screws into - but know of others who value the road shoes’ more consistent sole. Either way, you want a thicker midsole to give yourself more space from the screws - and a rock plate adds another layer of protection that will spread out any point pressures from the added studs. Of course, you want to be thoughtful about popping any cushioning systems (air, gel, whatever). Simpler, foam shoes are great for this operation.

How to do it?
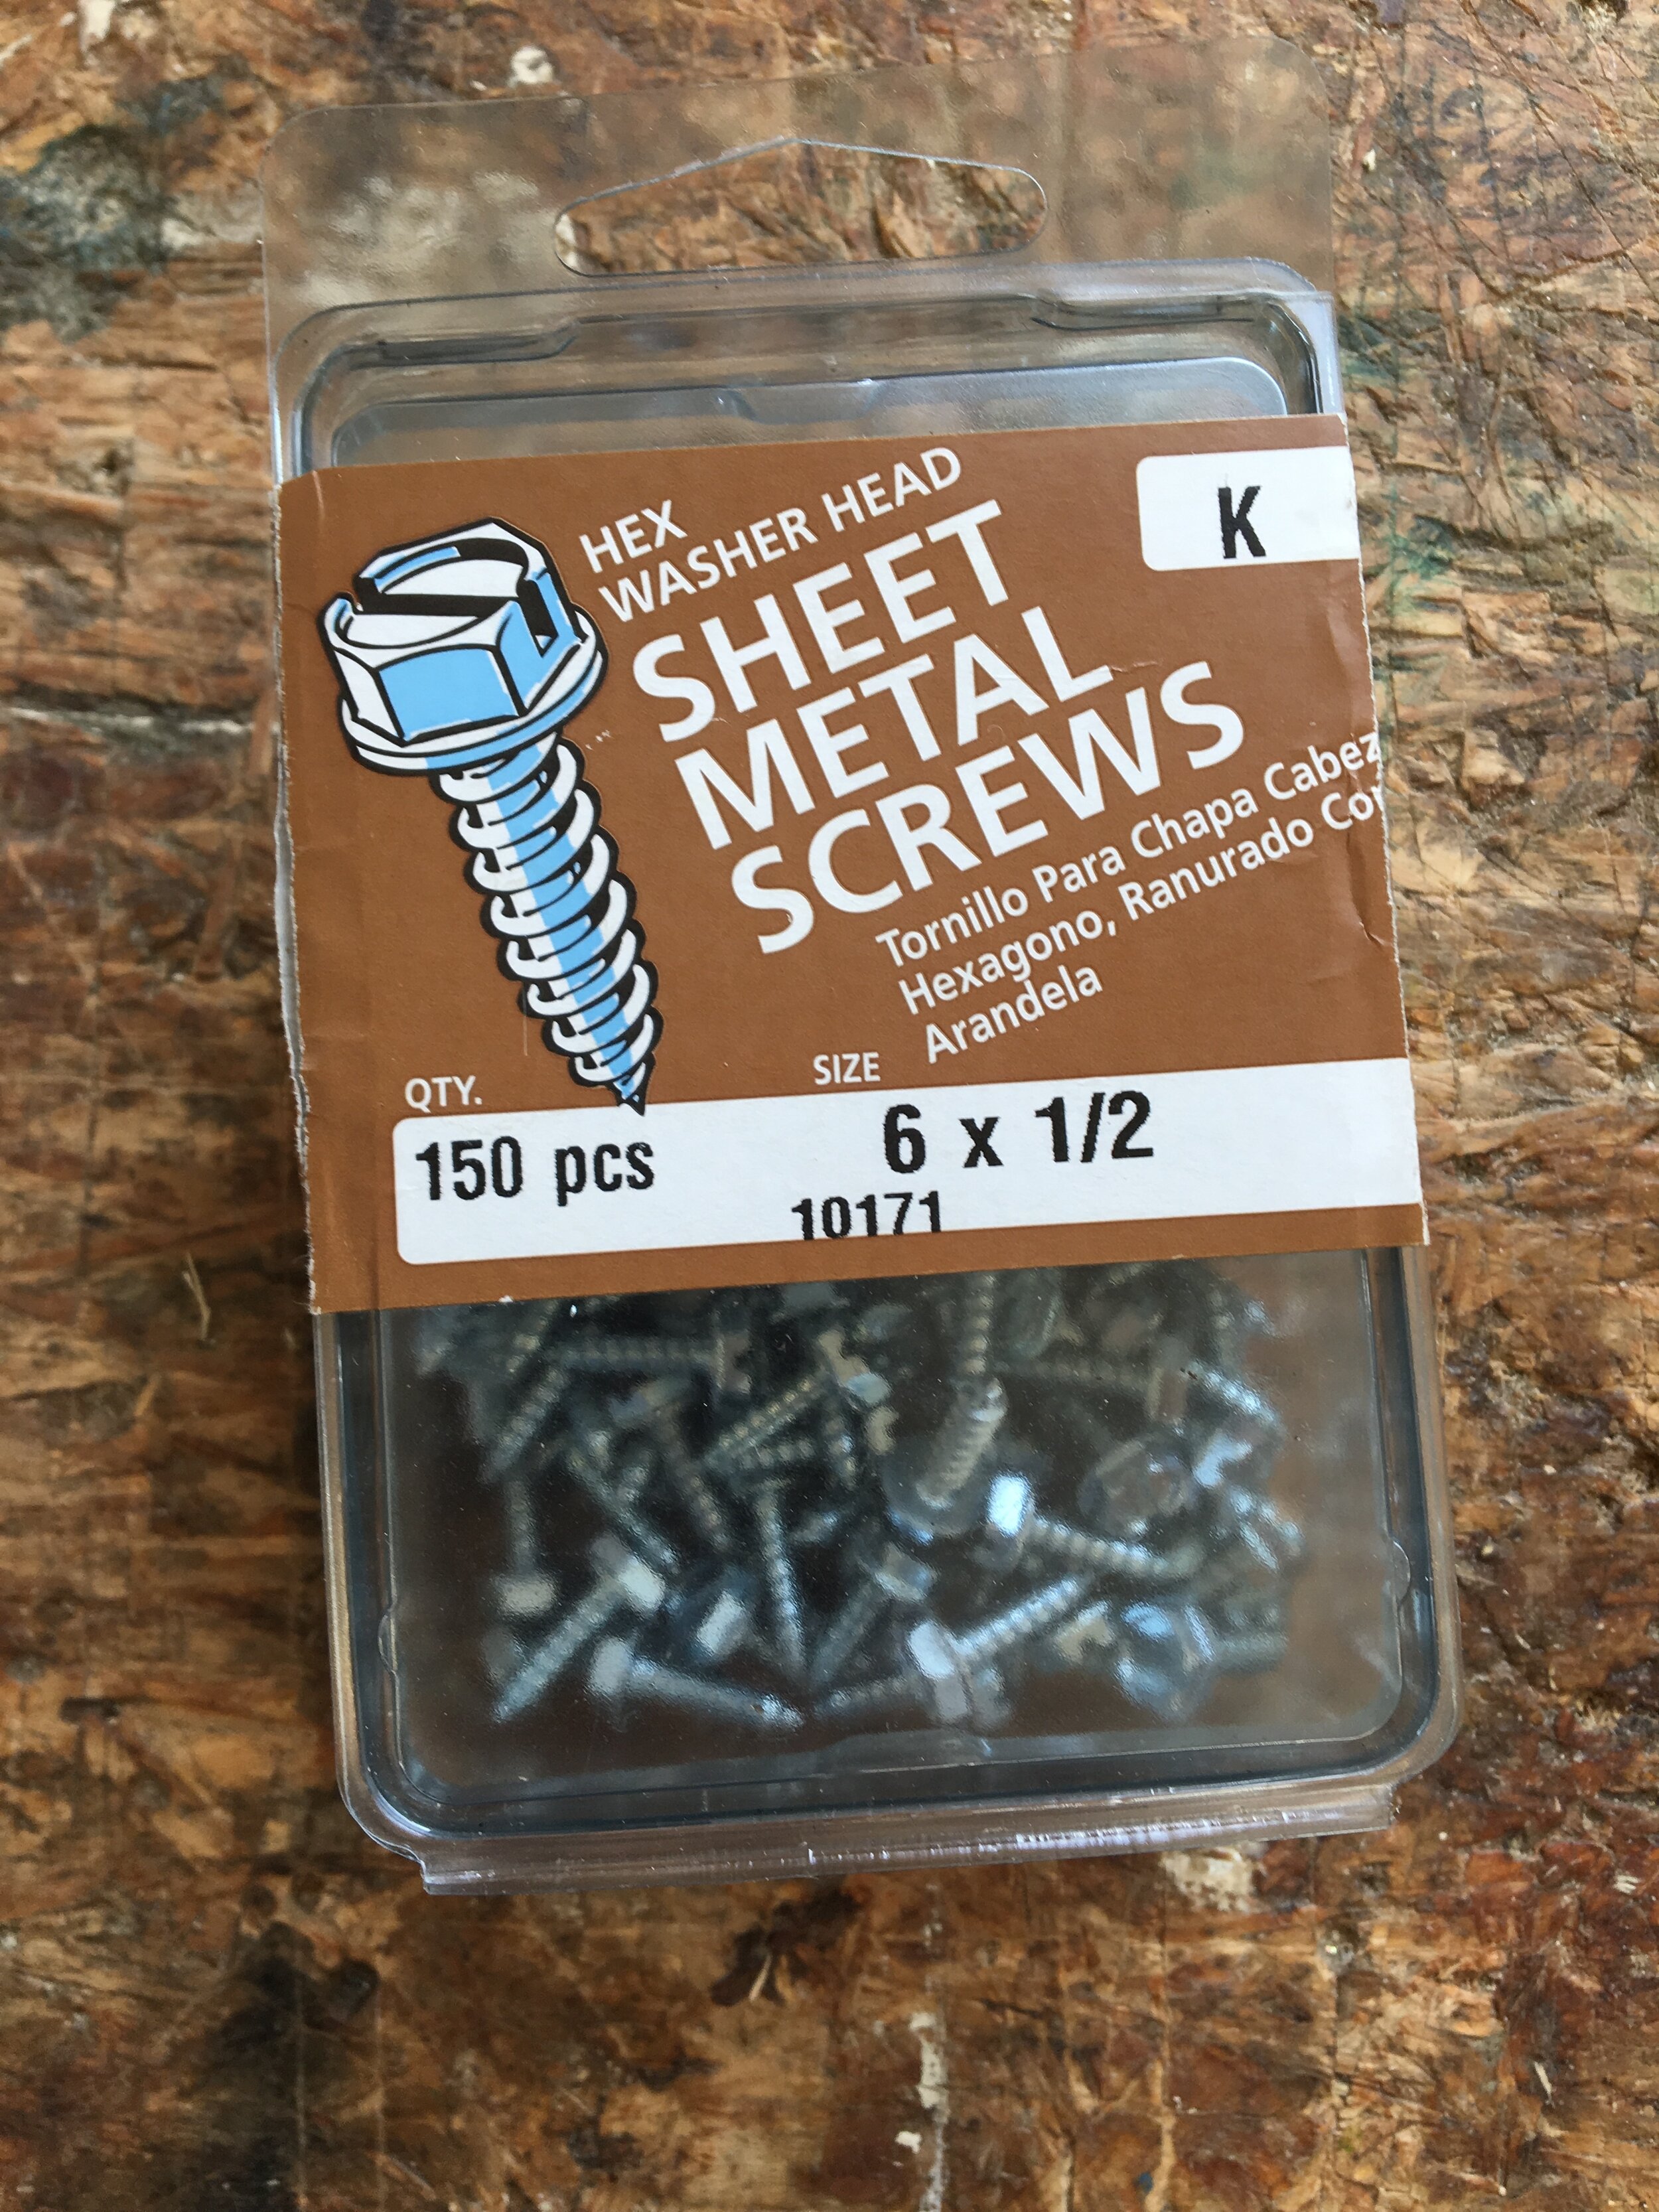
Find some screws. A great option is a self-tapping, hex-head sheet metal screw. Self-tapping makes it easy to screw the studs into your shoes and the hex heads give corners to bite into ice. The shorter, the better. Most hardware stores go down to about 1/2”, but you can find 3/8” as well. Shorter is better, as it means you’re less likely to feel pressure thru the foam from the screw points.
This is a great excuse to peruse McMaster-Carr, a catalog which warms the heart of many a do-it-yourselfer/engi-nerd. Here’s a great list of options from MMC. I generally go cheap, b/c I don’t put a lot of miles on during the winter - I just like to stay in touch with running. But if you’re going to be out a lot and are feeling spendy, you can get stainless hardware and be the envy of all your friends.
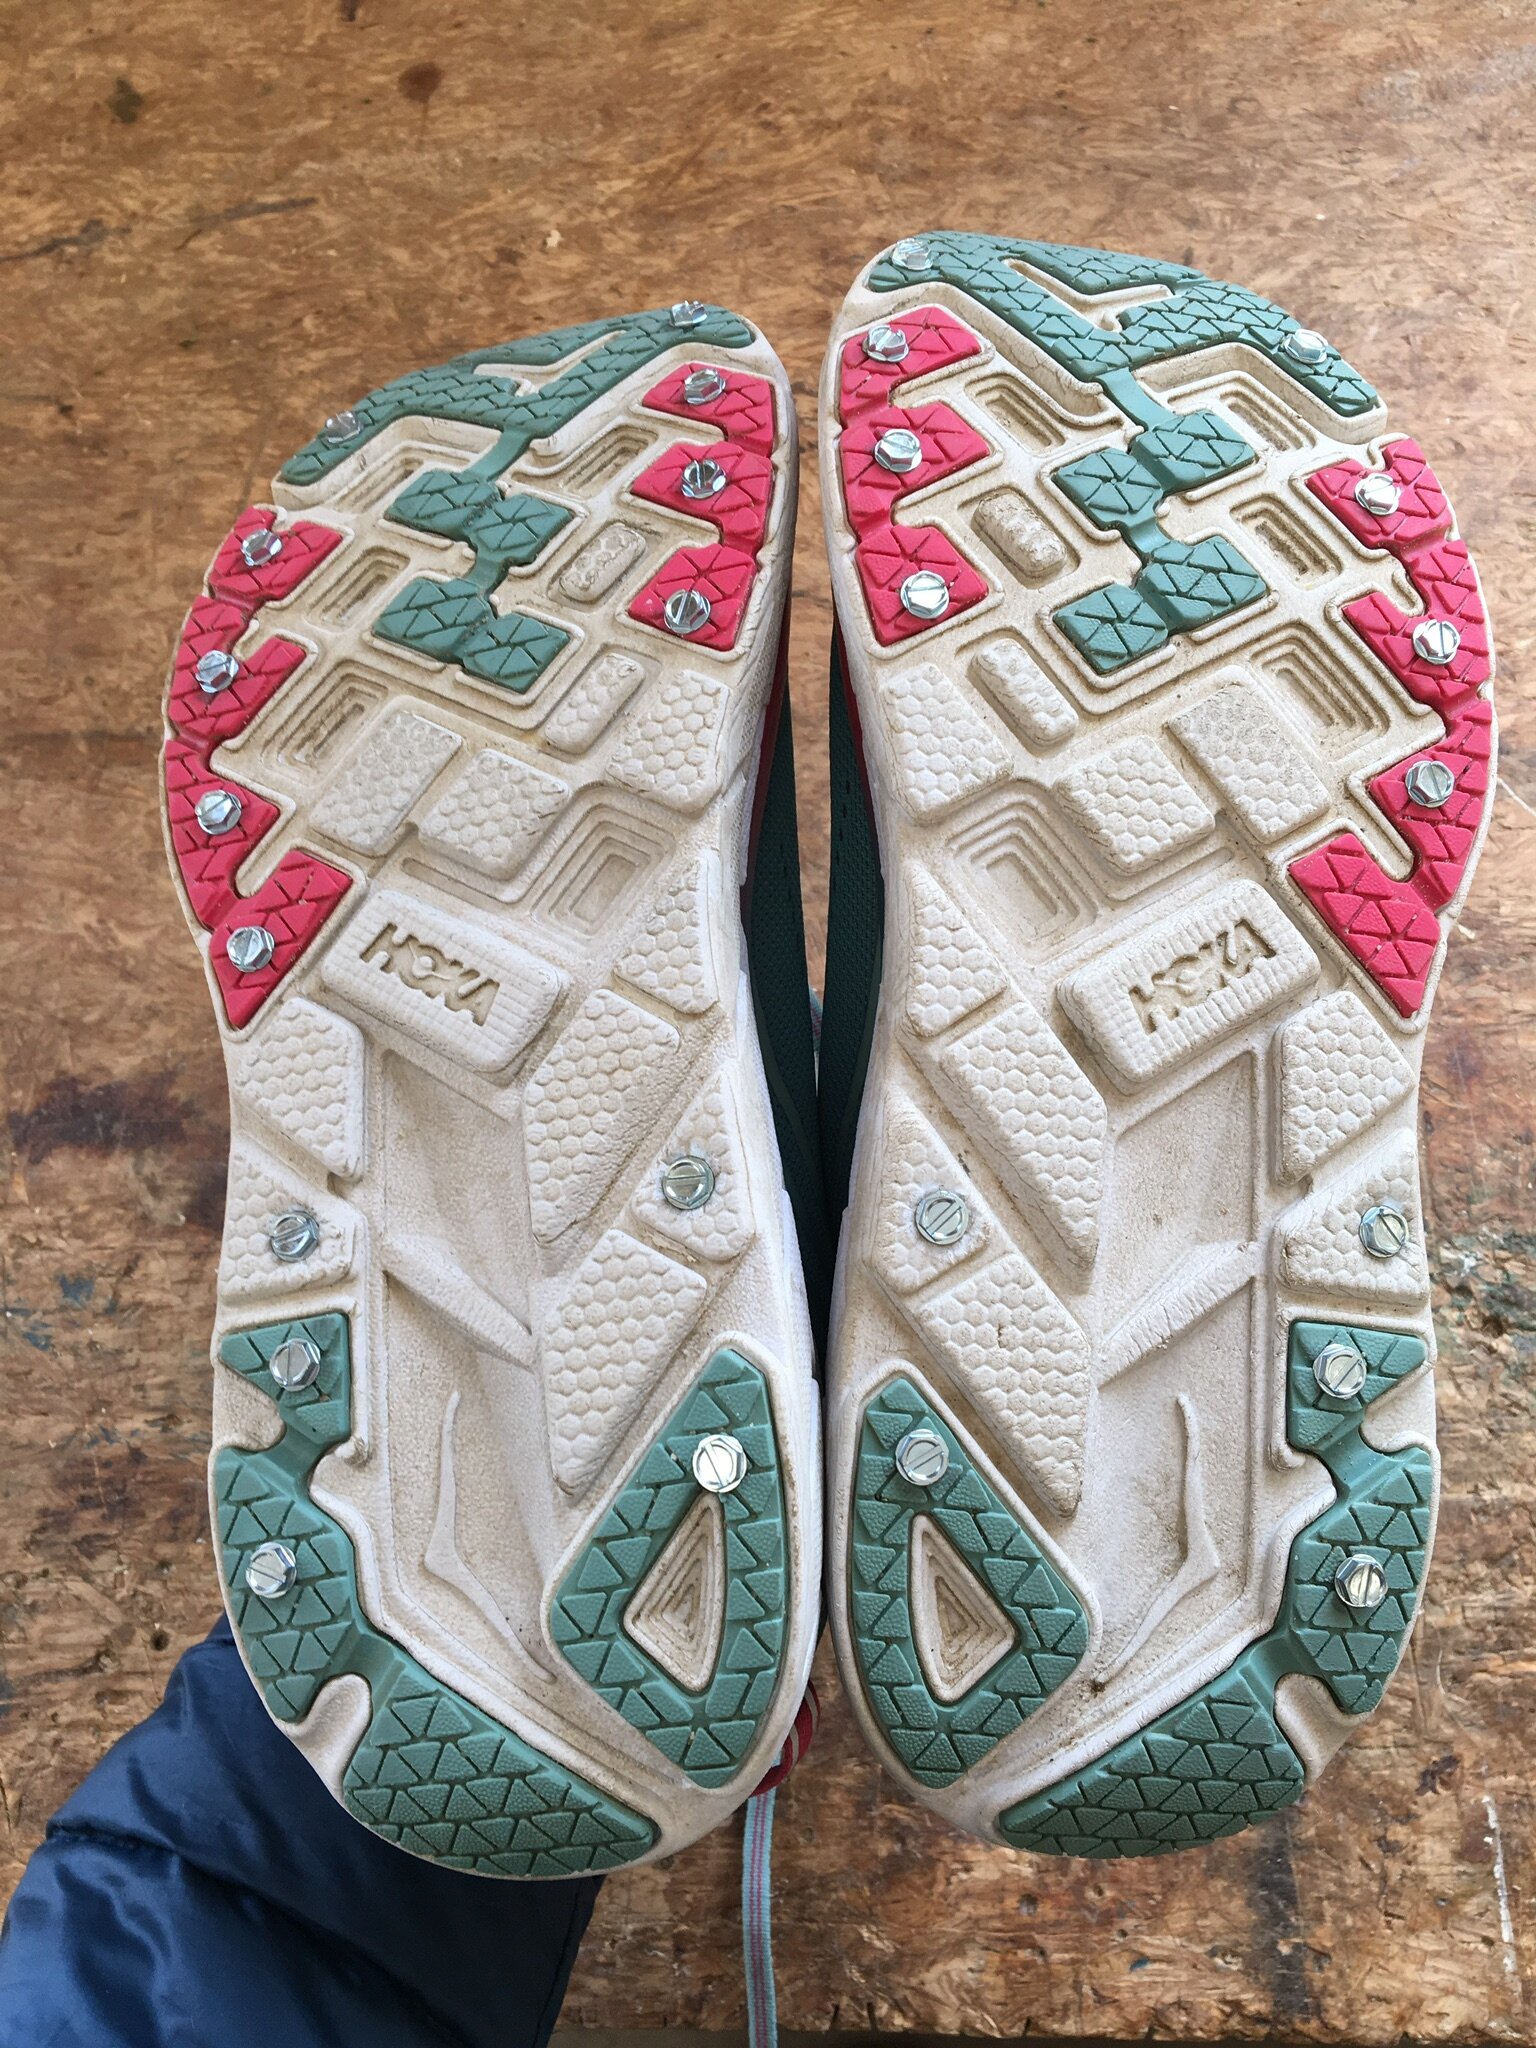
Grab your drill and screw the screws into your shoes. I generally stick with a perimeter pattern, focusing mainly on the heel and toe (for push off). Right under the ball of your foot is a place to be careful. I can feel the 5/8” screws in my Hoka ATR Challenger 3s with 24mm of sole under my metatarsal heads. It’s not the end of the world - just remove the screws that you’re feeling and you’re all set. But it is something to be mindful of.
I like this approach. It’s cheap (~$7-10 of screws), easy (<15 minutes), light (added something like 29g per shoe for my 12, 1/2” studs - not much at all), and pretty effective. Like any studs, you find yourself seeking out ice, as deeper snow can overpower the studs and leave you feeling like you’re spinning your wheels. It can still feel like overkill when you get off snow/ice and hit stretches of road where the sun has melted things out, but studding your own shoes does give me confidence to run when it’s slick out.
One notable drawback of any traction device, whether screws, molded in studs or neo spikes: take them off when you’re inside. Hard flooring is treacherous on spikes, and soft flooring gets shredded by them. If you want to stay in your landlord, housemates or family’s good graces, it’s important to shed these at the door.
Lastly, this approach is not committing at all. You can always try it on an old pair. Don’t like it? Unscrew them from the bottom of your shoes and you’re all set.