
Tech Tip: Catching Full Extension
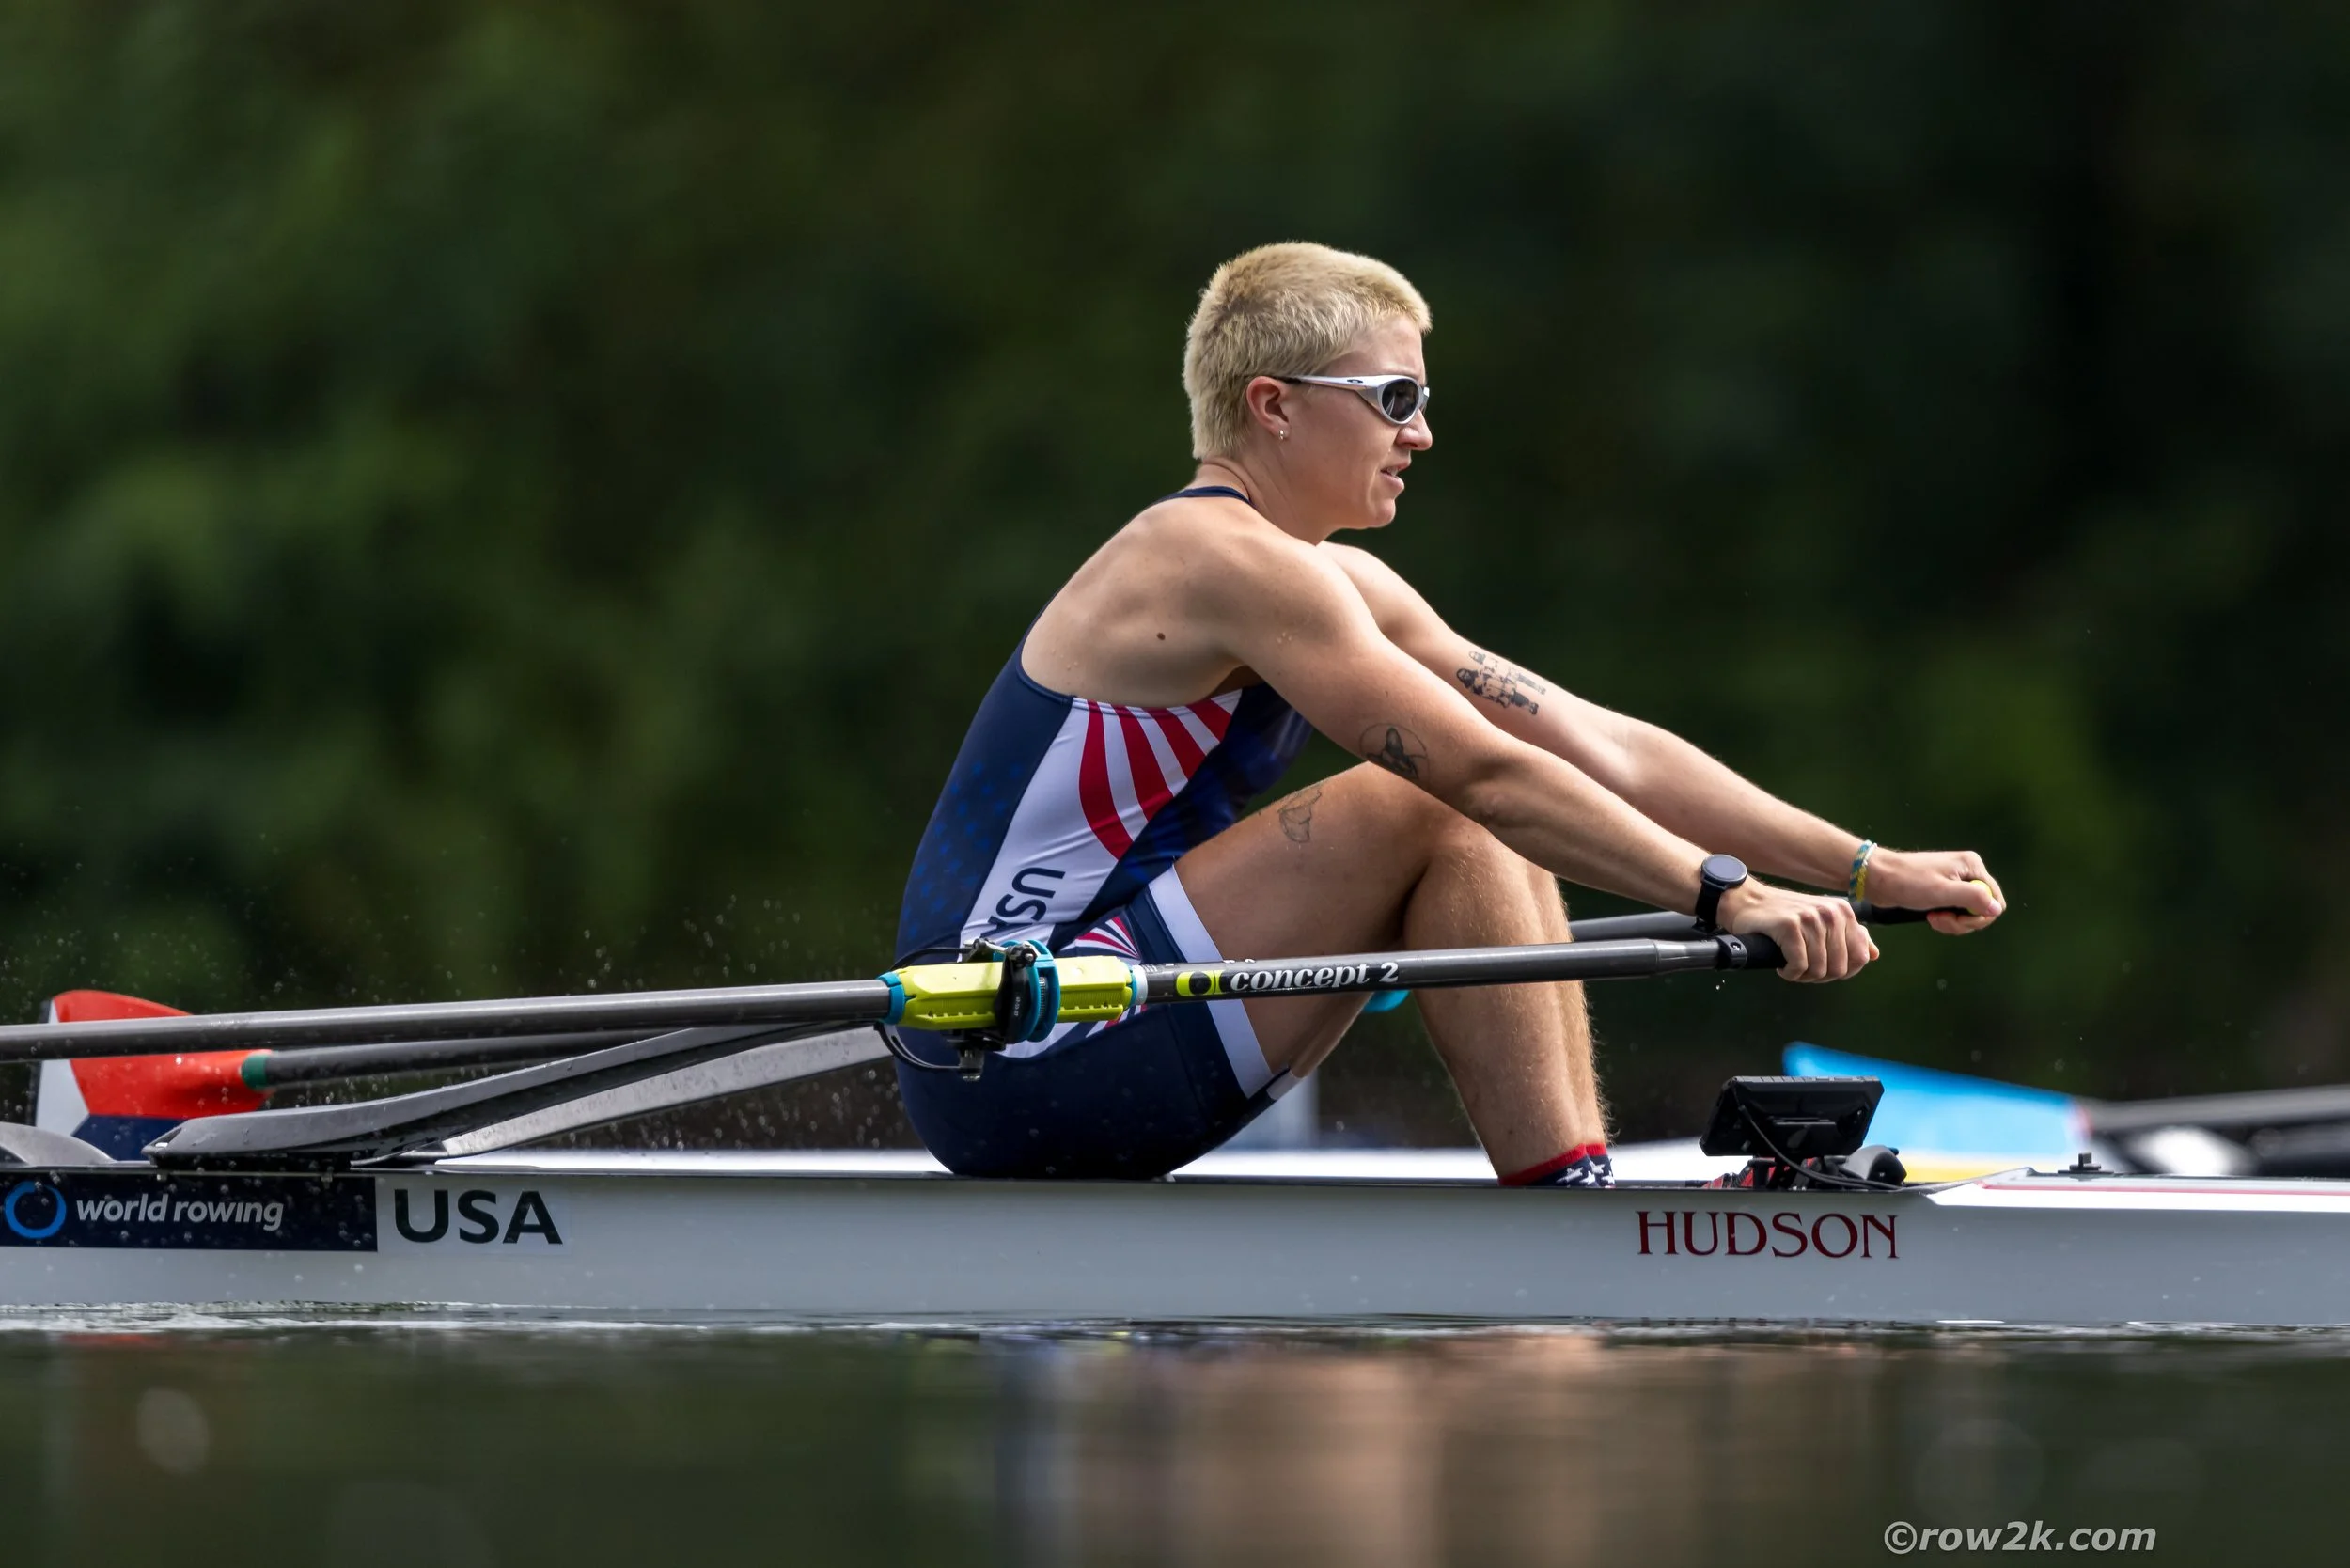
I've been thinking about the catch lately in my own sculling, and I'm considering some things I've heard over the past several years here at Craftsbury when describing the catch.
First, I'd like to divide the concept into two parts. Part one is the moment when the blade enters the water. Part two is how to place your body in the optimal position to apply power effectively once that moment arrives.
Some of the concepts I've been mulling over are:
1. Don't Use That Word!
Most recently, Erika Sloan was head coaching and spent time during the first evening discussing the lexicon of rowing. One of the words she chose to mention was "catch." She made the point beautifully that the meaning of the word does not translate very well to sculling or to the act of "catching." Webster's defines it this way:
to intercept and hold (something which has been thrown, propelled, or dropped).
to capture (a person or animal that tries to escape).
Both definitions discuss grabbing or stopping something that is actively moving away—which is not what we are trying to do when we place the oars in the water. Rather, we are trying to slip the blades into the water in such a way as to avoid stopping the momentum we've created and to continue tapping the boat along.
2. Let the Water Catch the Blade!
This is a little more on the esoteric side, but if sculling is really the pursuit of staying out of the way of your boat's speed, then this is a wonderful image to hold in one's mind. If your oar is properly positioned, squared, and ready, then when your body is in the optimal position, you simply allow the water to take hold of the blade, then apply your pressure on the drive.
3. Hug the Horizon!
Several years ago, I was listening to Troy Howell discuss the body position one wants when placing the oars, and he suggested hugging the horizon as a way to think about widening one's arms to embrace something massive. I love this image, as it helps us see the circular nature of the rowing stroke. I still struggle sometimes with how to get that feeling as I near the stern end of my slides. When thinking about how to make this happen, I reflect on a discussion with Al Morrow in which he mentioned that shoulder position is crucial to having a long catch. If you hold the shoulder, the actual head of the humerus, in the socket while approaching full slide, your stroke length improves significantly. Your hands also end up much wider, because you're letting the oar handles pull them apart rather than pushing them forward and apart yourself.
4. Use the Thumbs!
This is a continuation of the idea of keeping one's shoulder in the socket. If you think about spreading the thumbs apart from each other as a way of entering the water, you're working toward more length all the way until the blade enters the water - and that makes a tremendous difference!
Putting It All Together
One drill that helps put all these elements together is a stationary drill that I refer to as the triple tap drill. The progression is as follows:
Triple Tap Drill
Sit at the release and tap the blades out of the water three times. On the fourth tap, perform the full recovery motion all the way to the catch, place the blades, and pause. This is where the tricky part comes in. When you reach the catch position, your blades should be in the water, and your hips should be at their fullest compression. The difficulty is timing your placement just as the hips reach their fullest compression so that, when you pause, you are in the perfect catch position with the blades in the water. If you can have someone film you while performing this drill, you can see how well you timed it. Ideally, your hips will not stop moving before the blades enter the water.
Once you've done this drill several times, you should feel greater ease with the placement and have a better sense of how to prepare your body to find the ideal position.